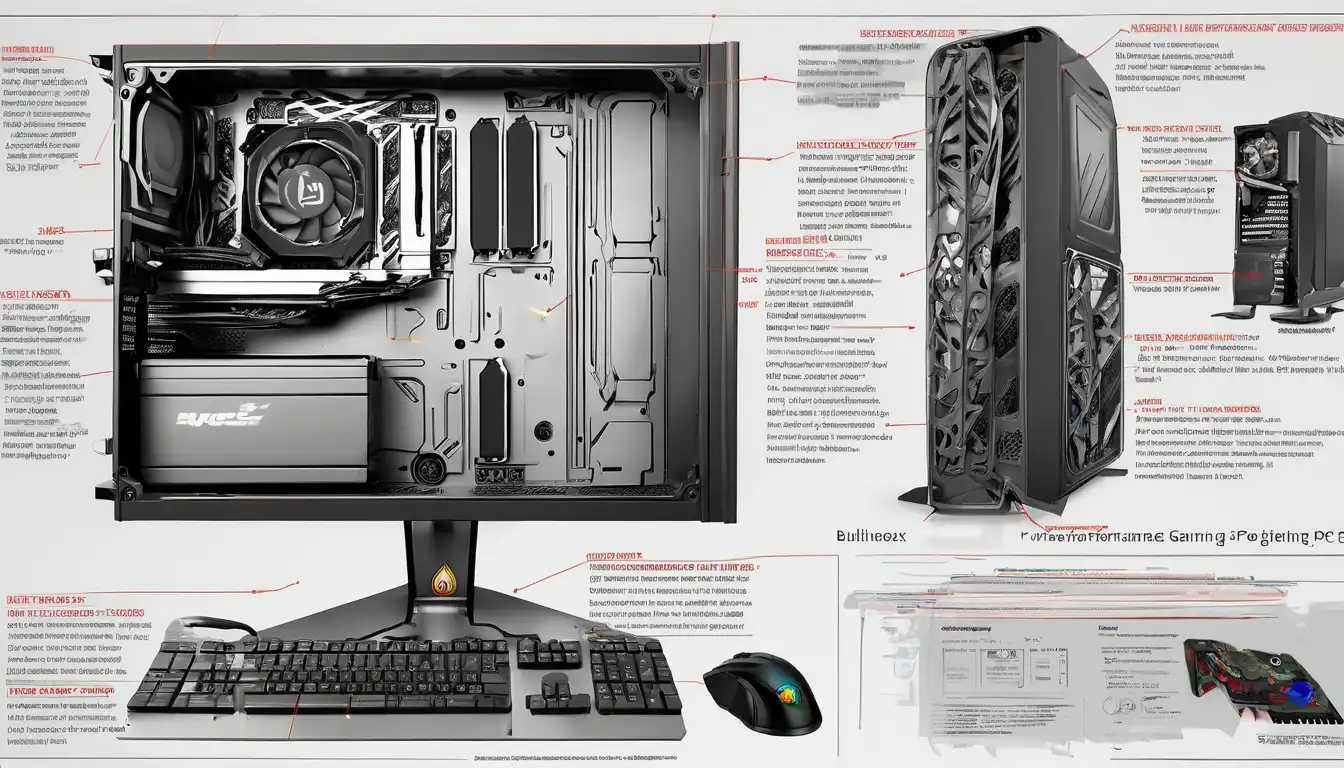
Introduction to High-Performance Gaming PC Assembly
Building a high-performance gaming PC represents one of the most rewarding experiences for any gaming enthusiast. Unlike pre-built systems, custom-built computers offer unparalleled flexibility, allowing you to select each component based on your specific gaming requirements and budget constraints. This comprehensive guide walks you through the entire process, from selecting compatible components to optimizing your system for peak gaming performance.
Whether you're aiming for smooth 4K gaming, high refresh rate competitive play, or future-proofing your setup for upcoming titles, understanding how to properly assemble and configure your gaming rig is crucial. The journey begins with careful planning and component selection, ensuring every part works harmoniously to deliver the gaming experience you deserve.
Essential Components for Your Gaming Build
Central Processing Unit (CPU)
The CPU serves as the brain of your gaming PC, handling game logic, physics calculations, and overall system coordination. For modern gaming, we recommend processors from Intel's Core i5/i7/i9 series or AMD's Ryzen 5/7/9 lineup. Consider factors like core count, clock speed, and thermal design power when making your selection. Higher core counts benefit multitasking and streaming, while faster clock speeds improve gaming performance in CPU-intensive titles.
Graphics Processing Unit (GPU)
Your graphics card is arguably the most critical component for gaming performance. NVIDIA's RTX series and AMD's Radeon RX cards dominate the market, offering various performance tiers to match different budgets and resolution targets. When choosing a GPU, consider your monitor's resolution and refresh rate, as higher resolutions require more powerful graphics cards. Don't forget to factor in VRAM capacity, especially for texture-heavy games and future-proofing.
Motherboard Selection
The motherboard acts as the foundation of your build, connecting all components and determining expansion capabilities. Key considerations include chipset compatibility with your chosen CPU, RAM support (DDR4/DDR5), PCIe slot configuration, and connectivity options. Ensure your motherboard supports the features you need, such as multiple M.2 slots for fast storage or robust power delivery for overclocking.
Memory (RAM) Requirements
Modern gaming benefits significantly from adequate system memory. We recommend starting with 16GB of DDR4 or DDR5 RAM for most gaming builds, while 32GB provides headroom for multitasking and future games. Pay attention to memory speed and timings, as faster RAM can improve performance in CPU-bound scenarios. For optimal performance, install RAM in dual-channel configuration when possible.
Storage Solutions
Storage configuration directly impacts game load times and system responsiveness. Consider combining a fast NVMe SSD for your operating system and frequently played games with a larger SATA SSD or HDD for mass storage. M.2 NVMe drives offer exceptional speed for game loading, while traditional hard drives provide cost-effective bulk storage for your game library.
Power Supply Unit (PSU)
Never compromise on your power supply quality. A reliable PSU with adequate wattage and proper certification (80 Plus Bronze or better) ensures stable operation and protects your investment. Calculate your system's power requirements using online PSU calculators, then add 100-200W headroom for future upgrades. Modular PSUs simplify cable management and improve airflow within your case.
Case and Cooling
Your case choice affects both aesthetics and thermal performance. Look for cases with good airflow, adequate fan mounting points, and cable management features. Consider your component sizes, especially GPU length and CPU cooler height. For cooling, air coolers offer reliable performance, while all-in-one liquid coolers provide superior thermal management for overclocked systems.
Step-by-Step Assembly Process
Preparation and Safety
Before beginning assembly, prepare a clean, static-free workspace with adequate lighting. Gather all necessary tools, including Phillips head screwdrivers, cable ties, and thermal paste. Always ground yourself by touching a metal surface before handling components to prevent electrostatic discharge damage.
Motherboard Preparation
Start by installing the CPU, RAM, and M.2 storage on the motherboard before mounting it in the case. Carefully align the CPU with the socket, ensuring proper orientation. Apply thermal paste in a pea-sized dot at the center of the CPU before mounting your cooler. Install RAM modules by opening the retention clips and firmly pressing until they click into place.
Case Preparation and Component Installation
Remove both side panels from your case and install the I/O shield from your motherboard kit. Mount the power supply in its designated location, routing cables through appropriate openings. Install case fans in their optimal positions, typically intake at the front/bottom and exhaust at the rear/top. Carefully lower the motherboard into the case, aligning it with standoffs before securing with screws.
Storage and Graphics Card Installation
Mount your storage drives in their respective bays, connecting SATA data and power cables as needed. Install your graphics card in the primary PCIe x16 slot, ensuring the retention clip engages properly. Connect the necessary power cables from your PSU to the graphics card, using separate cables for each power connector when possible.
Cable Management and Final Connections
Route cables neatly behind the motherboard tray, using cable ties to secure them. Connect front panel headers, USB ports, and audio jacks according to your motherboard manual. Double-check all power connections, including the 24-pin ATX and 8-pin CPU power cables. Ensure no cables obstruct fan blades or airflow paths before closing the case.
System Setup and Optimization
BIOS Configuration
Upon first boot, enter your motherboard BIOS to configure essential settings. Enable XMP/DOCP profiles for optimal RAM performance, set fan curves for efficient cooling, and verify that all components are detected correctly. Update your BIOS to the latest version if necessary, following manufacturer instructions carefully.
Operating System Installation
Create a bootable USB drive with your preferred operating system (Windows 10/11 recommended for gaming). Boot from the USB drive and follow the installation prompts, selecting your primary SSD as the installation destination. After installation, install necessary drivers from your motherboard and graphics card manufacturer websites.
Performance Optimization
Update all drivers, particularly graphics drivers, to ensure optimal performance and stability. Configure Windows power settings to High Performance mode and disable unnecessary startup programs. Use monitoring software like MSI Afterburner or HWMonitor to track temperatures and performance metrics during gaming sessions.
Game-Specific Optimizations
Adjust in-game graphics settings based on your hardware capabilities and performance targets. Enable features like NVIDIA DLSS or AMD FSR when supported for improved performance at higher resolutions. Consider overclocking your GPU and CPU for additional performance gains, but always stress-test stability and monitor temperatures.
Maintenance and Future Upgrades
Regular maintenance ensures your gaming PC continues performing at its best. Clean dust filters every month and perform thorough internal cleaning every six months. Monitor component temperatures and performance trends to identify potential issues early. When considering upgrades, prioritize components that will provide the most significant performance improvement for your specific use case.
Building a high-performance gaming PC is an investment that pays dividends in gaming satisfaction and system longevity. By carefully selecting components, following proper assembly procedures, and maintaining your system regularly, you'll enjoy a superior gaming experience for years to come. Remember that the PC building community offers extensive resources and support, so don't hesitate to seek advice when needed.
For more detailed information on specific components, check out our guides on gaming CPU selection and graphics card comparisons. If you're interested in advanced tuning techniques, our PC overclocking guide provides comprehensive instructions for squeezing extra performance from your components.